Creating a healthy and vibrant lawn starts with proper soil preparation and testing. The quality of your soil directly impacts the health and appearance of your lawn, as it provides the essential nutrients and environment for the grass to thrive. By understanding the importance of soil preparation and conducting a soil test, you can lay the foundation for a lush and beautiful lawn. In this guide, we will explore the key steps involved in lawn soil preparation and testing, helping you achieve optimal conditions for healthy grass growth.
1. Clearing and Removing Debris
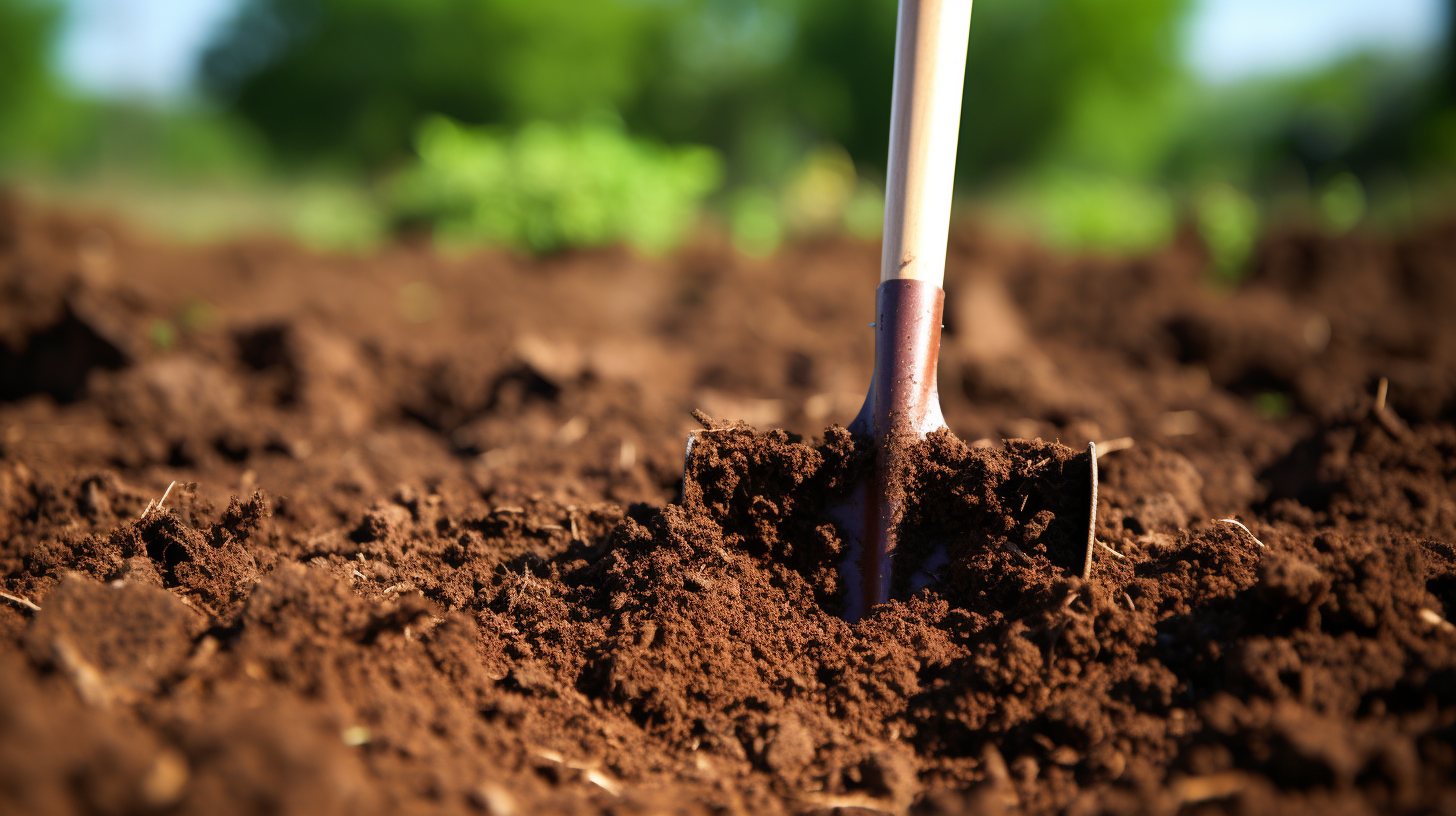
Before beginning the soil preparation process, it’s important to clear the lawn of any debris, such as rocks, sticks, and dead plants. Remove any existing grass, weeds, or vegetation to provide a clean surface for the next steps. This ensures that the soil amendments and nutrients can be effectively incorporated into the soil.
2. Soil Testing: Understanding Your Soil
Soil testing is a crucial step in lawn soil preparation as it provides valuable insights into the composition and fertility of your soil. A soil test helps identify any deficiencies or imbalances in nutrients, pH levels, and organic matter content. You can either purchase a soil testing kit or send a soil sample to a professional laboratory for analysis. The test results will provide recommendations for amendments and fertilizers specific to your soil’s needs.
3. Adjusting Soil pH
Soil pH plays a significant role in nutrient availability and grass growth. Most grass species thrive in a slightly acidic to neutral pH range of 6.0 to 7.0. If your soil pH falls outside this range, you may need to adjust it to create an optimal environment for the grass.
- If the soil is too acidic (pH below 6.0), you can raise the pH by adding lime or dolomitic limestone. Follow the recommendations provided by your soil test results to determine the appropriate amount of lime to apply.
- If the soil is too alkaline (pH above 7.0), you can lower the pH by adding sulfur or elemental sulfur. Again, consult your soil test results for specific recommendations on the amount of sulfur to apply.
4. Improving Soil Structure and Drainage
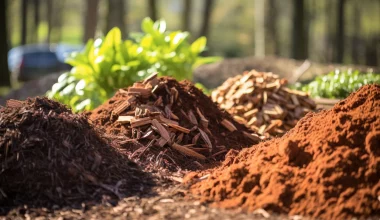
Well-draining soil is essential for healthy root development and prevents waterlogging, which can lead to root rot and other issues. Improving the soil structure and drainage can be done by incorporating organic matter, such as compost or well-rotted manure, into the soil. This helps improve soil texture, water-holding capacity, and nutrient retention.
Spread a layer of organic matter over the soil and use a garden fork or tiller to work it into the top few inches of soil. This process helps break up compacted soil, enhances aeration, and promotes beneficial microbial activity. Aim to achieve a loose and crumbly soil texture that allows for proper root penetration and water movement.
5. Adding Soil Amendments
Based on the results of your soil test, you may need to add specific soil amendments to address nutrient deficiencies or imbalances. Common soil amendments include:
- Nitrogen (N): Nitrogen promotes lush green growth and is essential for healthy grass development. Apply nitrogen-based fertilizers following the recommendations provided by your soil test results.
- Phosphorus (P): Phosphorus is important for root development and overall plant vigor. If your soil test indicates a phosphorus deficiency, you can add phosphorus-rich fertilizers or organic amendments like bone meal or rock phosphate.
- Potassium (K): Potassium helps improve disease resistance and stress tolerance in grass. If your soil test reveals a potassium deficiency, apply potassium-rich fertilizers or organic amendments like potash or wood ash.
6. Raking and Leveling the Soil
After incorporating organic matter and soil amendments, use a rake or garden leveling tool to smooth and level the soil surface. This helps create an even base for seeding or laying sod. Pay attention to any low spots or uneven areas and add or remove soil as needed to achieve a uniform surface.
7. Seeding or Sodding the Lawn
With the soil properly prepared, you can now proceed to seed or lay sod to establish your lawn. Select grass seed or sod that is well-suited for your climate and desired lawn characteristics. Follow the recommended seeding rates or sod installation guidelines provided by the manufacturer. Ensure good seed-to-soil contact or proper sod installation to encourage successful establishment.
8. Watering and Initial Care
Proper watering is crucial during the establishment phase of your lawn. Water the newly seeded or sodded area regularly, keeping the soil consistently moist but not waterlogged. Follow watering guidelines specific to your grass type and climate to encourage healthy root development.
Monitor the lawn for any signs of issues like inadequate water or pest problems. Provide the necessary care, such as gentle mowing, regular watering, and appropriate fertilization, to support the establishment and growth of your new lawn.
Conclusion
Proper lawn soil preparation and testing are essential steps in achieving a healthy and beautiful lawn. By clearing debris, conducting a soil test, adjusting soil pH, improving soil structure, adding necessary amendments, and properly leveling the soil, you can create an optimal environment for grass growth. Seeding or sodding the lawn and providing adequate care during the establishment phase will set you on the path to a lush and thriving lawn. So, invest time and effort into soil preparation and testing, and enjoy the rewards of a vibrant and healthy lawn for years to come.