Dreaming of having fresh herbs at your fingertips all year round? Look no further than a windowsill herb garden! Whether you live in a small apartment or have limited outdoor space, a windowsill herb garden is a perfect solution to cultivate a variety of flavorful herbs right in your own kitchen. In this guide, we’ll walk you through the step-by-step process of creating a thriving windowsill herb garden. Get ready to transform your windowsill into a fragrant and functional herb oasis!
Why Choose a Windowsill Herb Garden?
A windowsill herb garden offers numerous advantages, making it an ideal choice for herb enthusiasts with limited space or those who want easy access to fresh herbs. Let’s explore some key reasons why you should consider creating a windowsill herb garden:
- Convenience: With a windowsill herb garden, you can enjoy the convenience of having fresh herbs within arm’s reach while cooking. No need to make a trip to the store or worry about herbs going bad in the fridge. Simply snip what you need from your windowsill garden and savor the flavor!
- Year-Round Availability: Unlike outdoor gardens that are affected by seasonal changes, a windowsill herb garden allows you to grow herbs all year round. You can enjoy a continuous supply of fresh herbs, regardless of the weather outside.
- Space Optimization: Windowsills offer the perfect sunny spot for herb growth. Even if you have limited space or no outdoor garden, a windowsill herb garden allows you to maximize the available vertical space and bring the beauty of nature indoors.
- Aesthetically Pleasing: A windowsill herb garden not only provides you with fresh herbs but also adds a touch of greenery and natural beauty to your kitchen or living space. It can uplift your mood, create a calming atmosphere, and enhance the overall ambiance of your home.
Creating Your Windowsill Herb Garden: Step-by-Step Guide
Follow these simple steps to create your own thriving windowsill herb garden and enjoy the delights of fresh herbs year-round:
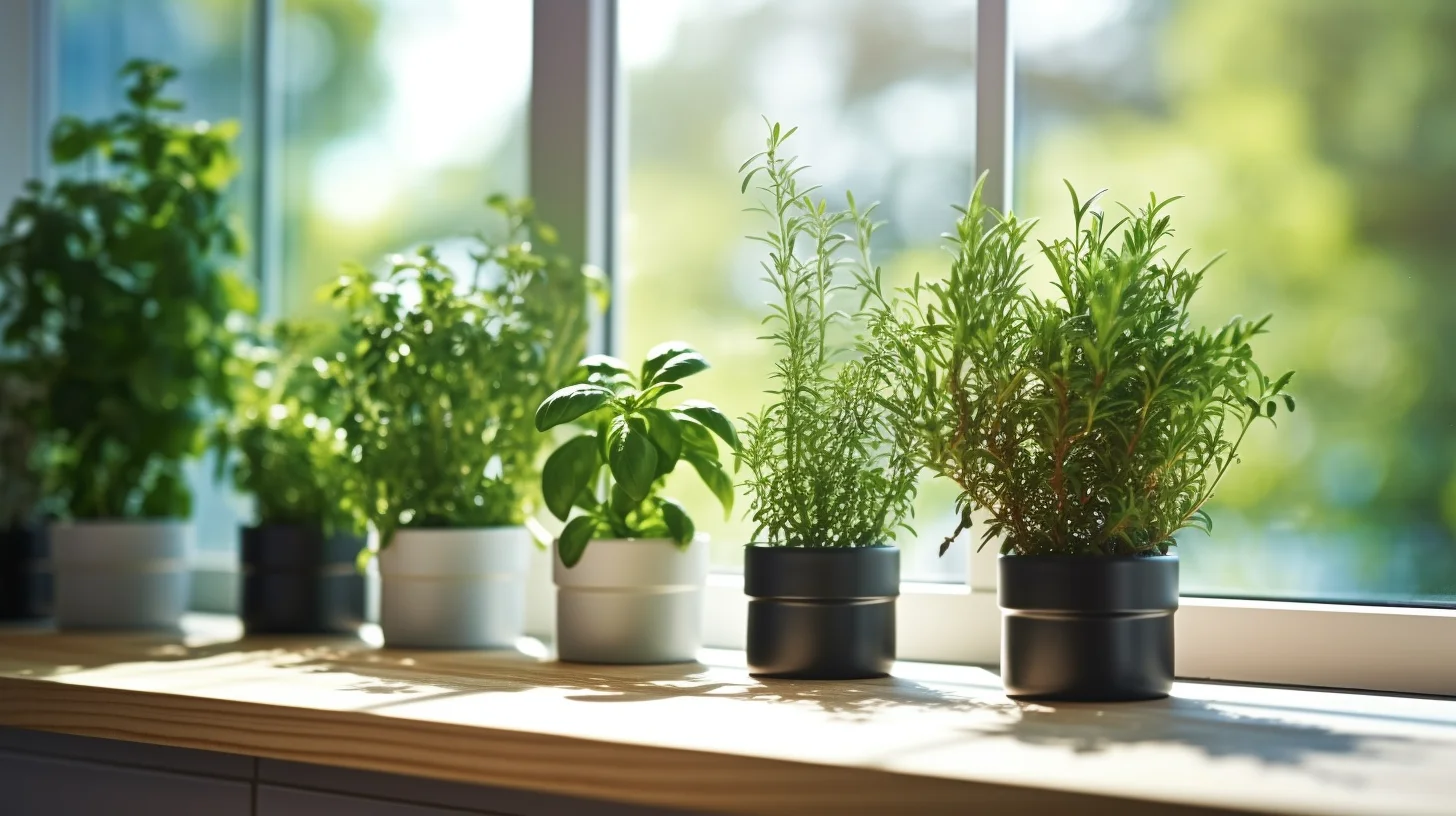
Step 1: Assessing the Sunlight
Observe your windowsill to determine the amount of sunlight it receives. Most herbs require at least 6 hours of direct sunlight daily to thrive. Choose a south-facing or west-facing window for optimal sun exposure. If your windowsill doesn’t receive enough sunlight, consider supplementing with artificial grow lights.
Step 2: Selecting Herb Varieties
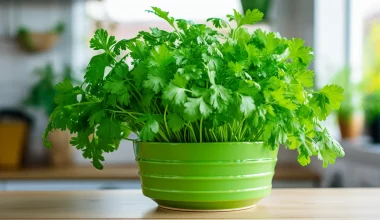
Choose herb varieties that are well-suited for windowsill gardening and fit your culinary preferences. Some popular herbs that thrive on windowsills include:
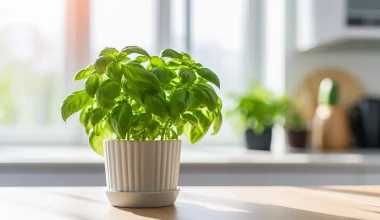
- Basil
- Mint
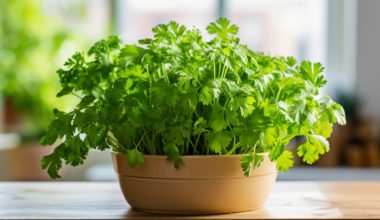
- Parsley
- Thyme
- Chives
- Oregano
- Rosemary
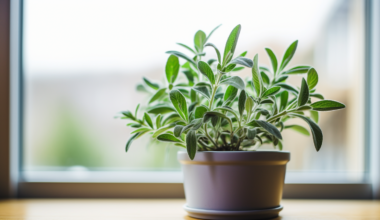
- Sage
Select a few of your favorites or experiment with new varieties to create a diverse herb garden.
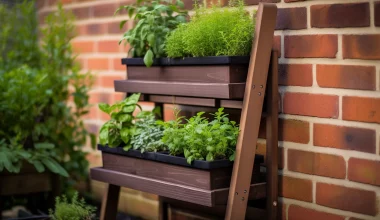
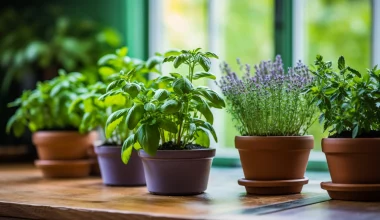
Step 3: Choosing Containers
Select suitable containers for your herb garden. Ensure they have drainage holes to prevent waterlogging and use saucers or trays to catch excess water. Options for windowsill herb gardens include:
- Individual pots: Use small, well-draining pots for each herb.
- Rectangular planter box: Opt for a long planter box that fits your windowsill, allowing you to plant multiple herbs in a single container.
- Hanging planters: Utilize hanging planters to maximize space and create an eye-catching display.
Step 4: Preparing the Soil
Use a high-quality, well-draining potting mix suitable for herbs. Avoid using garden soil, as it may compact and hinder proper drainage. Fill the containers with the potting mix, leaving a small gap below the rim to prevent overflow while watering.
Step 5: Planting the Herbs
Gently remove the herbs from their nursery pots and loosen the roots. Dig a small hole in the potting mix, ensuring the herb’s crown sits just above the soil surface. Place the herb in the hole, backfill with soil, and lightly press down to secure it. Repeat this process for each herb, leaving adequate space between plants to avoid overcrowding.
Step 6: Watering and Care
Water your herbs carefully to maintain proper moisture levels. Avoid overwatering, as it can lead to root rot. Check the soil moisture regularly by inserting your finger into the soil up to the first knuckle. If it feels dry, it’s time to water. Ensure proper drainage by emptying excess water from the saucers or trays after watering.
Step 7: Pruning and Harvesting
Regularly trim your herbs to promote bushier growth and prevent them from becoming leggy. Pinch or trim the top leaves of the plant, encouraging lateral growth and a fuller appearance. Harvest your herbs as needed, starting from the outermost leaves, allowing the inner leaves to continue growing.
Step 8: Additional Tips for Success
- Rotate the pots regularly to ensure even sunlight exposure for all sides of the plants.
- Keep an eye out for pests and diseases. If any issues arise, address them promptly using organic pest control methods or consult a local gardening expert.
- Consider using organic fertilizer or liquid plant food to provide nutrients to your herbs every few weeks.
Conclusion
With a windowsill herb garden, you can enjoy the convenience, freshness, and beauty of growing your own herbs in the comfort of your home. By following this guide, you’ll be well on your way to creating a thriving windowsill herb garden and adding a touch of greenery to your kitchen. Embrace the joy of harvesting fragrant herbs while elevating your culinary creations. Start your windowsill herb garden today and embark on a delightful journey of flavors and aromas!