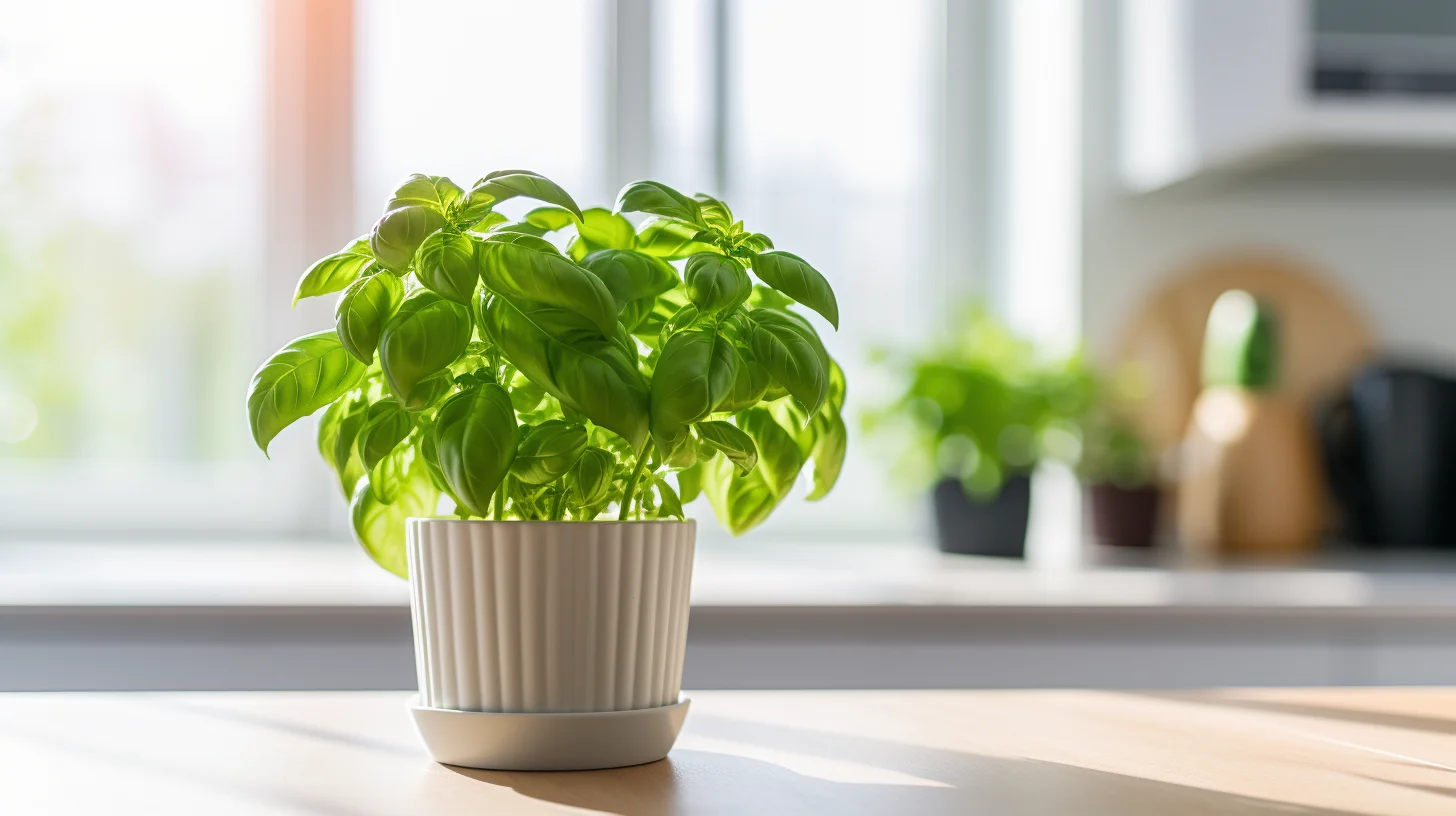
Are you a basil lover who wants to enjoy the fresh and aromatic taste of this herb all year round? Look no further! Growing basil indoors allows you to have a constant supply of this flavorful herb right in your own home, regardless of the season. In this beginner’s guide, we will walk you through the step-by-step process of growing basil indoors. Get ready to embark on a rewarding journey of cultivating your own indoor basil garden and elevating your culinary creations!
Why Grow Basil Indoors?
Growing basil indoors offers several advantages, making it a popular choice among herb enthusiasts. Here are a few reasons why you should consider growing basil indoors:
- Year-Round Availability: With an indoor basil garden, you can enjoy fresh basil leaves throughout the year, regardless of the outdoor climate or season. No more waiting for the warm months to savor the delightful taste of basil in your dishes.
- Convenience and Accessibility: Having basil right at your fingertips in your kitchen is incredibly convenient. You can simply snip a few leaves whenever you need them, ensuring maximum flavor and aroma in your meals. No need to rush to the store or settle for dried basil.
- Controlled Environment: Growing basil indoors allows you to have greater control over the growing conditions. You can provide the ideal temperature, light, and moisture levels for your basil plants, resulting in healthier and more vigorous growth.
- Decorative Element: Indoor basil plants not only provide you with fresh herbs but also add a touch of greenery and beauty to your indoor space. They can enhance the ambiance of your kitchen or living area while providing a delightful aroma.
Growing Basil Indoors: Step-by-Step Guide
Follow these simple steps to successfully grow basil indoors and enjoy the abundance of this aromatic herb:
Step 1: Choosing the Right Basil Variety
Select a basil variety suitable for indoor growing. Some popular choices include Genovese basil, Thai basil, and Lemon basil. Consider the flavor profile and growth habits of each variety to find the one that best suits your preferences.
Step 2: Getting the Right Container
Choose a container with adequate drainage holes to ensure proper water drainage and prevent root rot. Opt for a pot that is at least 6-8 inches deep to accommodate the basil’s root system. Ensure the pot is made of a material that retains moisture, such as clay or ceramic.
Step 3: Preparing the Potting Mix
Prepare a well-draining potting mix by combining equal parts of high-quality potting soil and perlite or vermiculite. This mixture provides good drainage while retaining enough moisture for the basil plants.
Step 4: Planting Basil Seeds or Seedlings
Option 1: Planting Basil Seeds
- Fill the pot with the prepared potting mix, leaving about an inch of space below the rim.
- Sprinkle basil seeds evenly across the soil surface. Cover the seeds lightly with a thin layer of the potting mix.
- Mist the soil gently with water to moisten it, ensuring that the seeds remain in place.
- Place a plastic wrap or a humidity dome over the pot to create a mini greenhouse effect. This helps retain moisture and promote seed germination.
- Keep the pot in a warm area with indirect sunlight until the seeds germinate (typically within 7-10 days).
- Once the seedlings have grown a few sets of true leaves, thin them out, leaving only the healthiest-looking ones, spaced about 6 inches apart.
Option 2: Planting Basil Seedlings
- Dig a hole in the potting mix that is slightly larger than the root ball of the basil seedling.
- Gently remove the seedling from its nursery container, being careful not to damage the roots.
- Place the seedling in the hole and backfill with the potting mix, firming the soil gently around the base of the plant.
Step 5: Providing Adequate Light
Place your basil plants in a location that receives at least 6-8 hours of bright, indirect sunlight each day. If natural light is limited, supplement with a fluorescent grow light placed a few inches above the plants. Rotate the pots regularly to ensure even growth.
Step 6: Watering and Moisture
Keep the soil evenly moist, but avoid overwatering, as basil plants are susceptible to root rot. Water the plants when the top inch of soil feels dry to the touch. Ensure that the pot has proper drainage to prevent waterlogged roots.
Step 7: Fertilizing Basil Plants
Feed your basil plants with a balanced water-soluble fertilizer once every two weeks during the growing season. Dilute the fertilizer according to the package instructions and apply it to the soil, taking care not to splash it on the foliage.
Step 8: Pruning and Harvesting Basil
Regularly pinch back the tips of your basil plants to encourage bushier growth. This will also prevent the plants from flowering too soon. Harvest the leaves as needed, starting from the top, using sharp scissors or your fingertips. Regular harvesting promotes continuous growth and ensures the best flavor in your dishes.
Conclusion
Growing basil indoors is a rewarding and enjoyable experience that allows you to have a fresh supply of this aromatic herb throughout the year. By following this beginner’s guide, you can successfully cultivate your own indoor basil garden and elevate the taste of your culinary creations. Embrace the joys of nurturing and harvesting basil right in the comfort of your home. Start your indoor basil garden today and indulge in the delightful flavors and fragrances it brings!