Are you short on space but eager to grow your own herb garden? Look no further than a vertical herb garden! This innovative and space-saving gardening technique allows you to cultivate a variety of fresh herbs in a compact and visually appealing way. In this guide, we will explore the step-by-step process of creating your own vertical herb garden. Get ready to maximize your gardening potential and enjoy the convenience and beauty of growing herbs vertically!
Why Choose a Vertical Herb Garden?
Vertical herb gardens offer numerous advantages, making them an ideal choice for herb enthusiasts with limited space or a desire to add a unique touch to their garden. Here are some key reasons to consider creating a vertical herb garden:
- Space Optimization: Vertical gardening allows you to utilize vertical wall space, balconies, or fences, effectively maximizing your gardening area. It’s a perfect solution for urban dwellers, small yards, or anyone seeking to make the most of limited space.
- Easy Accessibility: With a vertical herb garden, your herbs are conveniently within reach. No more bending or kneeling to tend to your plants or harvest herbs. Enjoy the accessibility of having your favorite herbs just a step away from your kitchen.
- Visual Appeal: A vertical herb garden adds a unique aesthetic element to your outdoor or indoor space. The lush green foliage cascading down walls or hanging from planters creates a stunning and eye-catching display.
- Better Air Circulation: Vertical gardens allow for improved air circulation around the plants, reducing the risk of disease and promoting healthier growth. The vertical arrangement also enables sunlight to reach more foliage, enhancing photosynthesis and overall plant vitality.
Creating Your Vertical Herb Garden: Step-by-Step Guide
Follow these steps to create your own vertical herb garden and enjoy a flourishing display of fresh herbs:
Step 1: Finding the Perfect Spot
Selecting the ideal location is crucial. Most herbs love basking in the sun, requiring a minimum of six hours of sunlight per day. A south-facing wall or a sunny nook would be just perfect. If you’re tight on outdoor space, don’t worry – vertical gardens can be just as happy indoors near a bright window.
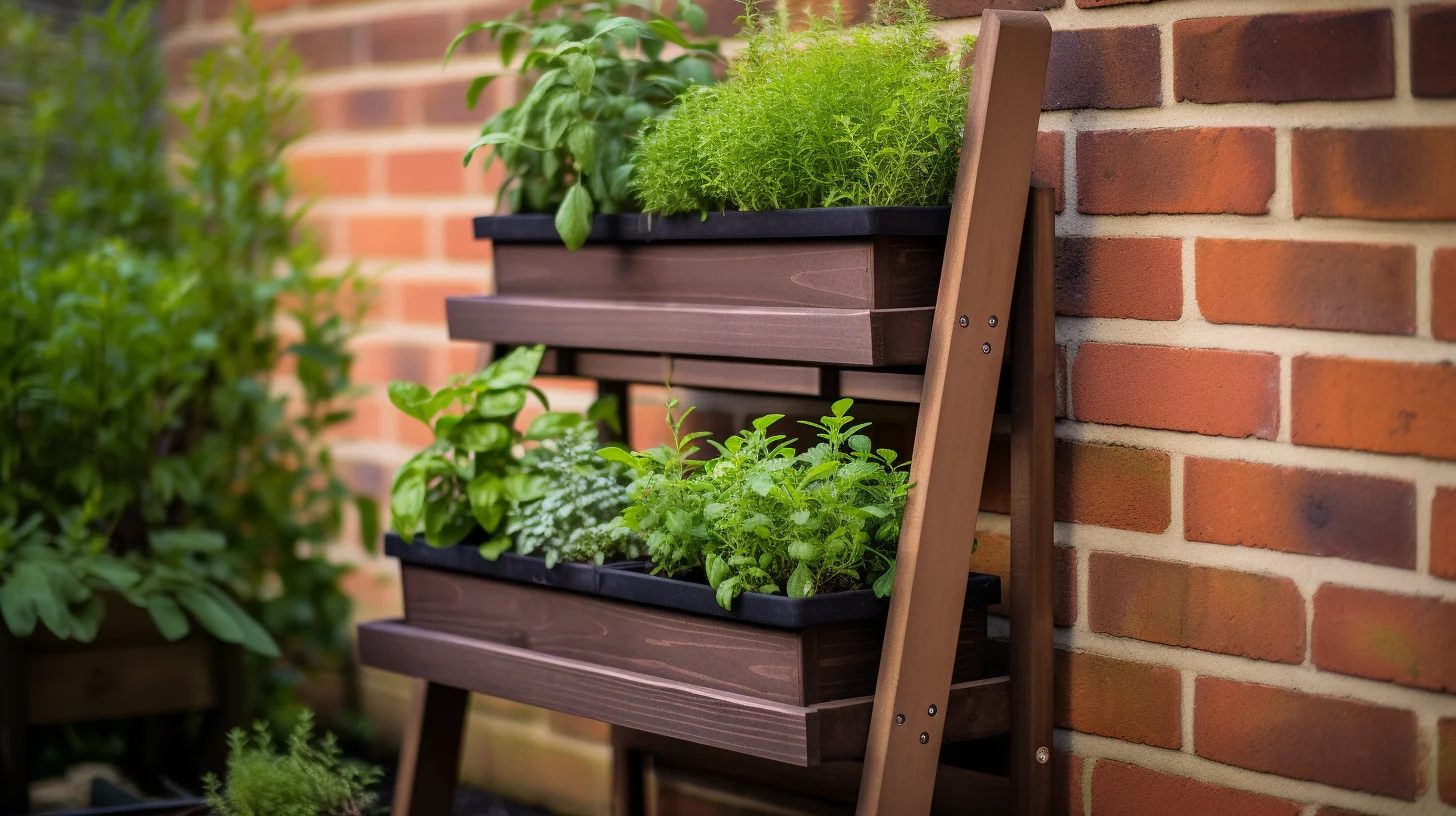
Step 2: Settling on the Ideal Vertical Structure
Take some time to think about the kind of vertical structure that will best fit your available space and personal style. Here are a few of my favorite options:
- Wall-mounted planters: These are a classic choice. Attach them directly to a solid wall or fence. Materials can range from rustic wood to modern metal or practical plastic. Just be sure to check they have good drainage and are sturdily fixed to the wall.
- Hanging pockets or bags: These fabric containers, like those made from breathable felt or burlap, can be hung up on a wall or fence. They’re perfect for keeping herbs neatly organized with plenty of room to breathe.
- Pallet Herb Garden: Got an old wooden pallet lying around? Why not repurpose it into a beautiful and eco-friendly herb garden?
- Vertical Tower Garden: If you’re willing to invest a little more, you can get a pre-designed vertical tower garden. These systems allow you to have a multi-tiered, visually striking garden in a compact space.
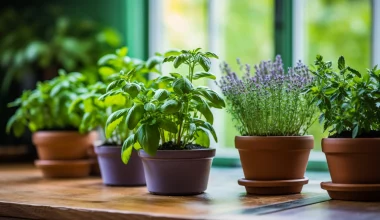
Step 3: Selecting Your Herbs
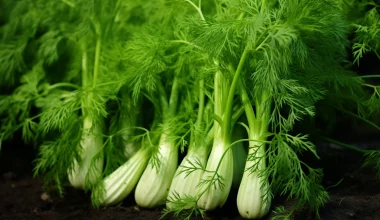
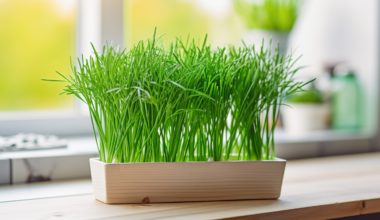
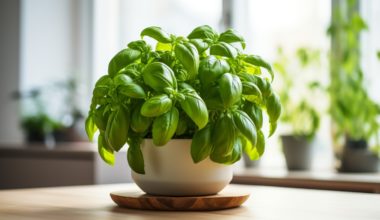
Next, decide on the herb varieties you’d like to grow. Here’s a list of some herbs that are particularly fond of vertical gardens:
- Basil
- Thyme
- Mint
- Oregano
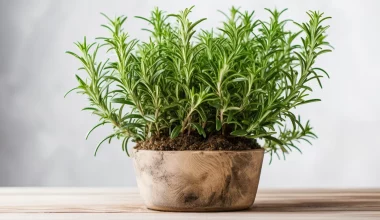
- Rosemary
- Sage
- Parsley
- Chives
Remember to consider the growth habits of each herb. Some are more suited to compact spaces, while others will happily trail over the edge of their containers.
Step 4: Setting Up Your Vertical Garden
Before you start planting, you’ll need to get your vertical structure ready. Whether you’re using wall-mounted planters, hanging bags, a repurposed pallet, or a garden tower, you must ensure it’s secure, level, and sturdy.
Step 5: Soil and Planting
Grab some well-draining potting mix that’s ideal for herbs. Fill each planter pocket or pot, leaving enough room for the roots. Try to plant only one herb per pocket or pot, and be gentle when firming the soil around the base of the plant.
Step 6: Watering and Care
Remember to water your herbs regularly. Keep the soil consistently moist but never soggy. Vertical gardens may dry out quicker than their horizontal counterparts, so check moisture levels often. Be wary of overwatering – it’s a fast track to root rot.
Step 7: Regular Upkeep and Harvest
Keep your vertical herb garden looking and performing its best with regular pruning, which will promote bushier growth. Pluck any dead or yellowing leaves to keep the plants healthy and visually pleasing. When it’s time for the harvest, start from the outer edges to stimulate continuous growth.
Step 8: Some Extra Tips for Success
A layer of mulch around the base of the plants will help retain moisture and thwart pesky weeds. Occasionally, treat your herbs to some fertilizer (just follow the instructions on the package). Keep an eye out for any signs of pests or disease, and address them quickly using organic solutions when possible
To wrap up, vertical herb gardens offer a beautiful, practical solution for herb lovers with limited space. By following these steps, you’ll soon be enjoying the convenience and joy of freshly plucked herbs right at your fingertips. So, what are you waiting for? Start your vertical herb garden journey today and savor the satisfaction of homegrown herbs!